
Emailing Photos to Customers
The Invoice Photos Report is a valuable tool for sending visual documentation to customers alongside their invoices. This guide outlines how to customise the report name and provides step-by-step instructions for emailing the report effectively.
Customising the Invoice Photos Report Name
By default, the Invoice Photos Report is referred to as the "Condition Report." However, you have the flexibility to customise this terminology to better suit your needs. To change the report name, follow these steps:
Navigate to Setup > Preferences > Report Templates & Settings.
Override the default "Invoice Photos Report" value with your preferred name.
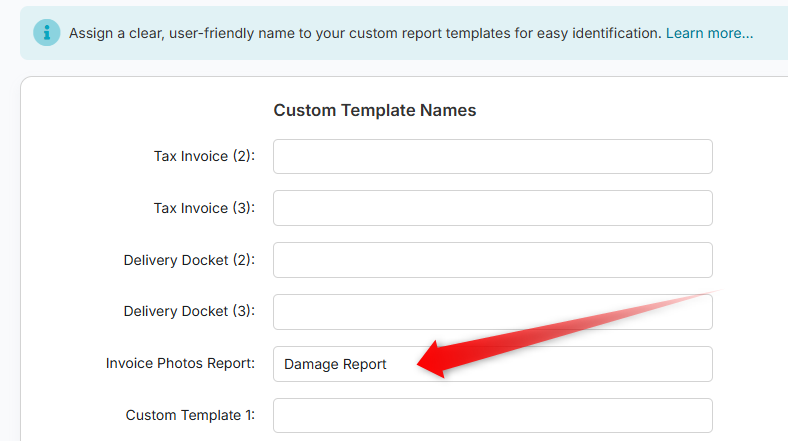
Click the Save Changes button to apply your modifications.
Emailing the Invoice Photos Report
You can email the Invoice Photos Report using one of the following methods:
Option 1: Emailing from the Invoice Screen
To email the report from the Invoice screen, follow these steps:
Click the Photos icon located at the top-right corner of the Invoice screen. Please note that photos will appear slightly dimmed until they are selected.
If the job is part of a long-term hire sequence of invoices, all photos from the sequence will be displayed. You can filter to show only photos from the current invoice; however, any selected photo from the series will still appear in the report, even if the "This Invoice Only" filter is applied.
Toggle the Include in report option above each photo to include it in the report. You can also click Edit to modify the caption if necessary.
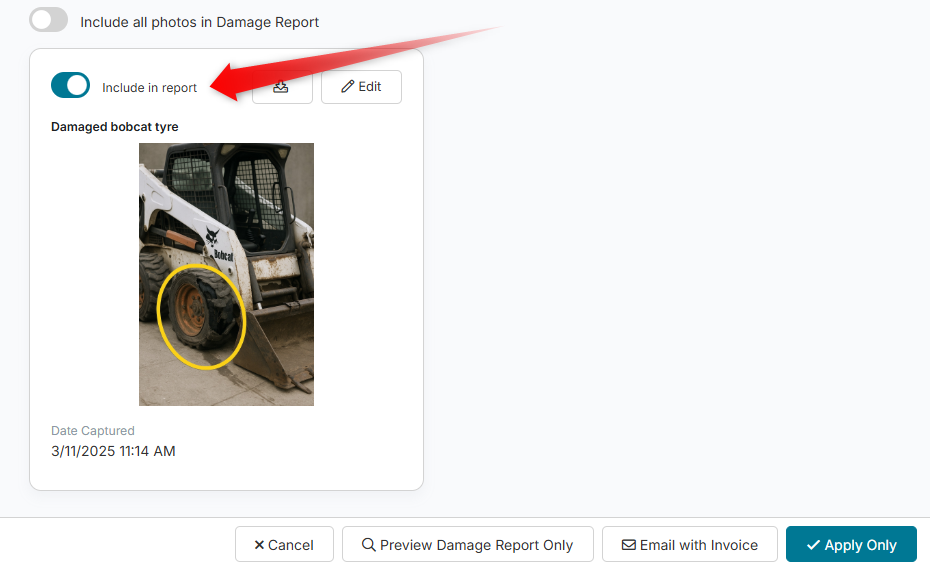
To preview and email the report on its own, click Preview Damage Report Only. Alternatively, click Email with Invoice to send the report along with the invoice.
Option 2: Include Report via the Email Invoice Screen
To include the Invoice Photos Report attachment from the Email Invoice screen, follow these steps:
From the Invoice screen, click the Email button at the bottom to initiate the email process.
In the Email Invoice screen, expand the Attachments section.
Locate the option for Include Condition Report Attachment, which will display the number of linked photos and how many have been selected.
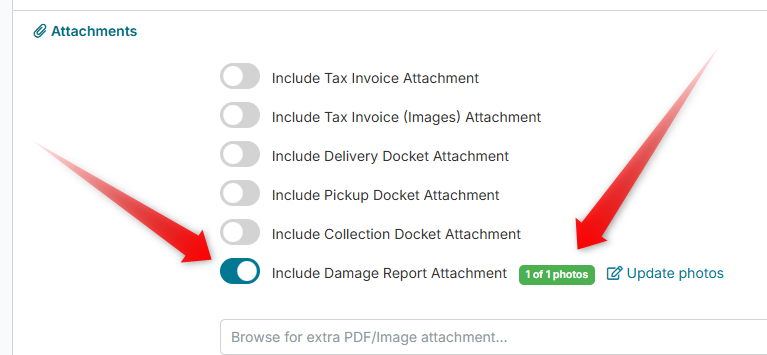
Click the Update photos link to edit the selected photos and their descriptions as needed.
In the Photos screen, you can click Email with Invoice to return to the Email Invoice screen, where the Include Condition Report... option will be auto-selected.
If you are satisfied with the selected photos, click Send to email the invoice as usual.
By following these instructions, you can efficiently customise and email the Invoice Photos Report to your customers, ensuring they receive all necessary documentation in a professional manner.