
Inserting an Image into Email Templates
When creating email templates, adding images or file links can enhance the visual appeal and effectiveness of your emails. This guide will walk you through the process of hosting images on the internet and inserting them into your email templates.
Hosting Your Image on the Internet
If you wish to include images in your email templates, you need to host the images on the internet first. Here are two common methods to host your images:
Website URL Link: If you have company logos or images already available on a website, you can easily get a link to the image. Simply right-click on the image and select "Copy image address." Alternatively, you can ask your IT person or webmaster for the URL to the image.
Cloud Drive Link: If you do not have a website or cannot host images on your website, you can use cloud storage services like Google Drive, Microsoft OneDrive, Dropbox, or similar. Upload your image to the cloud storage and create a direct link to the image, ensuring that the file is set to allow public access.
A direct image link will usually end with an image file extension, such as
.jpgor.png. The steps to obtain a direct image link vary by cloud storage provider, so refer to your provider’s documentation for the correct method.If your image is not displaying, you've likely copied a preview or sharing link instead of the direct image link. Check whether your link ends with a file extension to confirm this.
Inserting Image Link into Your Email Template
Once you have hosted your image and obtained the direct link, follow these steps to insert the image into your email template:
In HirePOS, go to Setup > Preferences > Email Templates/Settings.
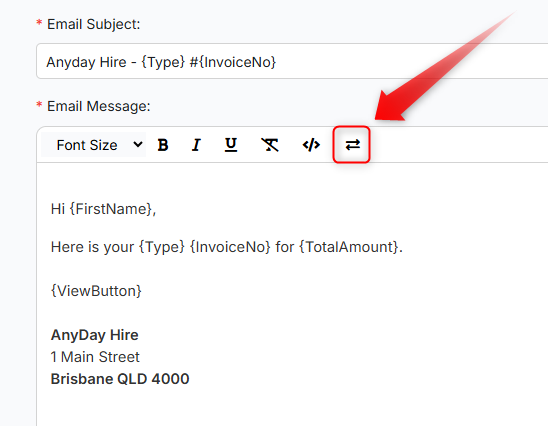
Click the toolbar icon to open the Advanced editor.
Click on the Insert dropdown in the template editor.
Select Image and paste the URL of your image into the Source field.
Resize the image as needed to fit your email template design.
By following these steps, you can easily add images to your email templates, making your emails more visually appealing and engaging for your recipients.